
You can’t upgrade to Windows 7 from a Windows XP computer — you have to install Windows 7 over Windows XP. Be sure to back up any important programs or files on your computer. If you’re installing Windows 7 on an empty hard drive, you obviously don’t need to worry about backing up any data since the hard drive doesn’t have any.

For best results, transfer your files and settings to a portable hard drive that’s at least as large as the drive in your Windows XP computer.

The My Computer window opens.
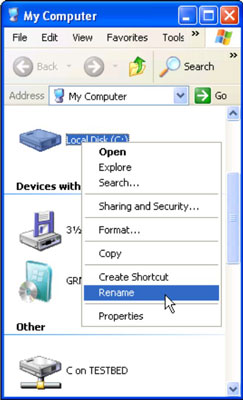
The drive icon’s name becomes editable text.
You don’t technically need to remain the drive, but it helps you identify the correct drive a few steps later.
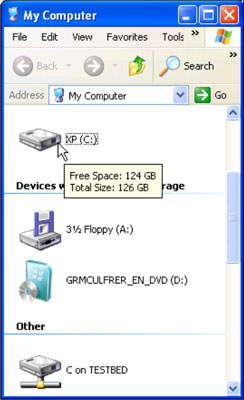
You need at least 20GB.

Your computer restarts and begins loading files directly from the Windows 7 DVD. (You may have to press a key to tell your computer to load from the DVD drive rather than the hard drive.) Then go to Step 9.
Your computer begins installing temporary files.
Now, jump to Step 12.

This selection includes menu language, keyboard layout, and currency symbols.

Windows begins copying the DVD’s files to your hard drive.

You're moving right along!
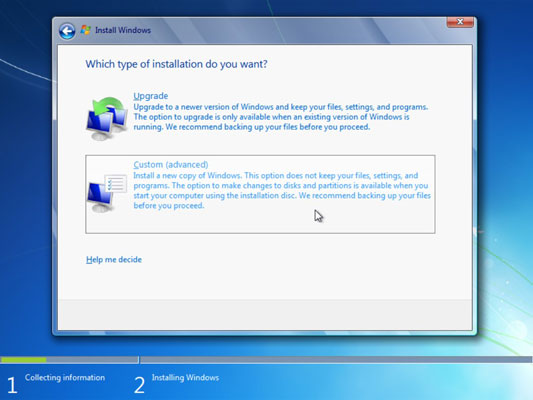
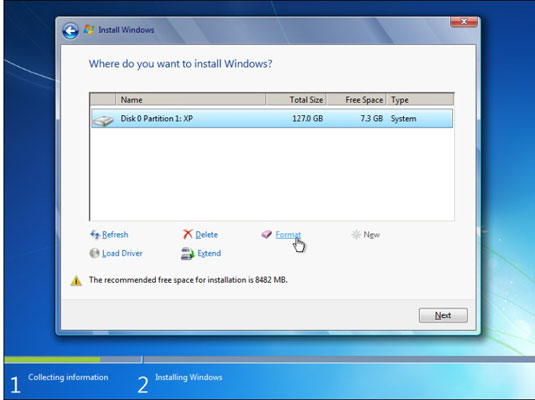
The program shows you a window listing your computer’s partitions and/or drives. (You can’t upgrade from Windows XP, so the Upgrade option doesn’t work.)
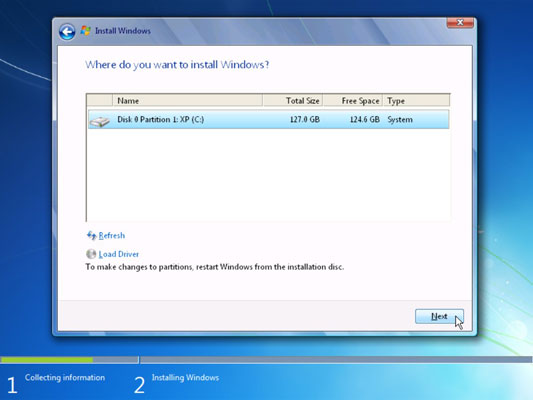
Windows 7 installs itself over Windows XP, saving your computer’s old files in a folder called Windows.old. Now jump to Step 11.

A a new screen of the dialog box appears.
Windows 7 installs itself on your old Windows XP drive, a process that consumes about 10 to 30 minutes on most computers.
If you reformatted your hard drive, Windows now asks you to choose your Country, Time and Currency, and keyboard layout.

Feel free to type in the same username and computer name as you did on your old computer.
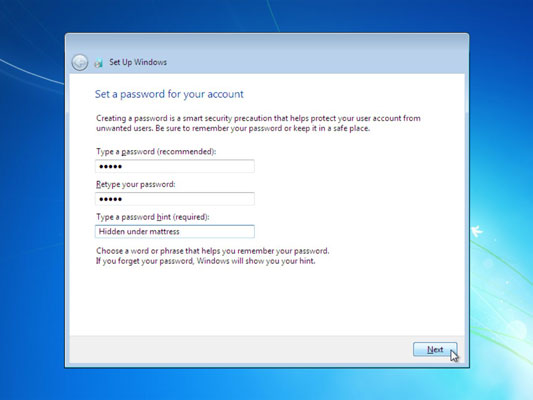
The password hint should be a phrase that reminds you of your password but doesn’t give it away. For example, if your password is the name of your elementary school, the password hint could be, “My first elementary school.”
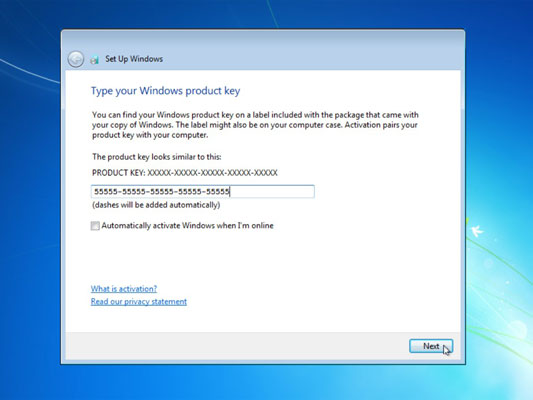
The product key usually lives on a little sticker affixed to the CD’s packaging.

This selection allows Windows to visit the Internet to update itself with security patches, warn you of suspicious Web sites, check for troubleshooting information, and send technical information to Microsoft to fine-tune Windows’ performance.

Windows 7 usually guesses these correctly.
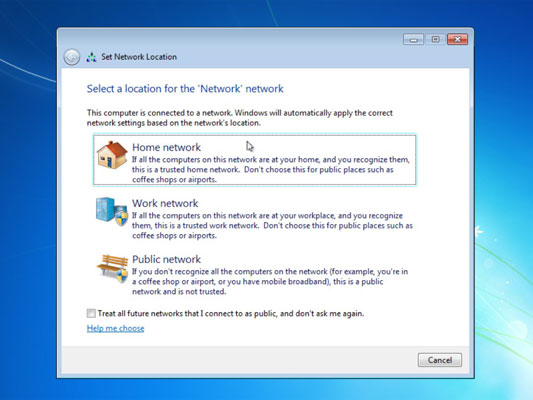
Windows 7 gives you options: Home, Work, or Public. After rummaging around inside your computer for a few more minutes, Windows 7 appears on the screen, leaving you at the logon screen.
This step downloads any security patches and updated drivers issued by Microsoft.